The Upload Screen
Follow the steps below for instructions on how to upload files using the iOS app.
Step 1:
First you need to login. Once you do, you should see a screen like the picture.

Step 2:
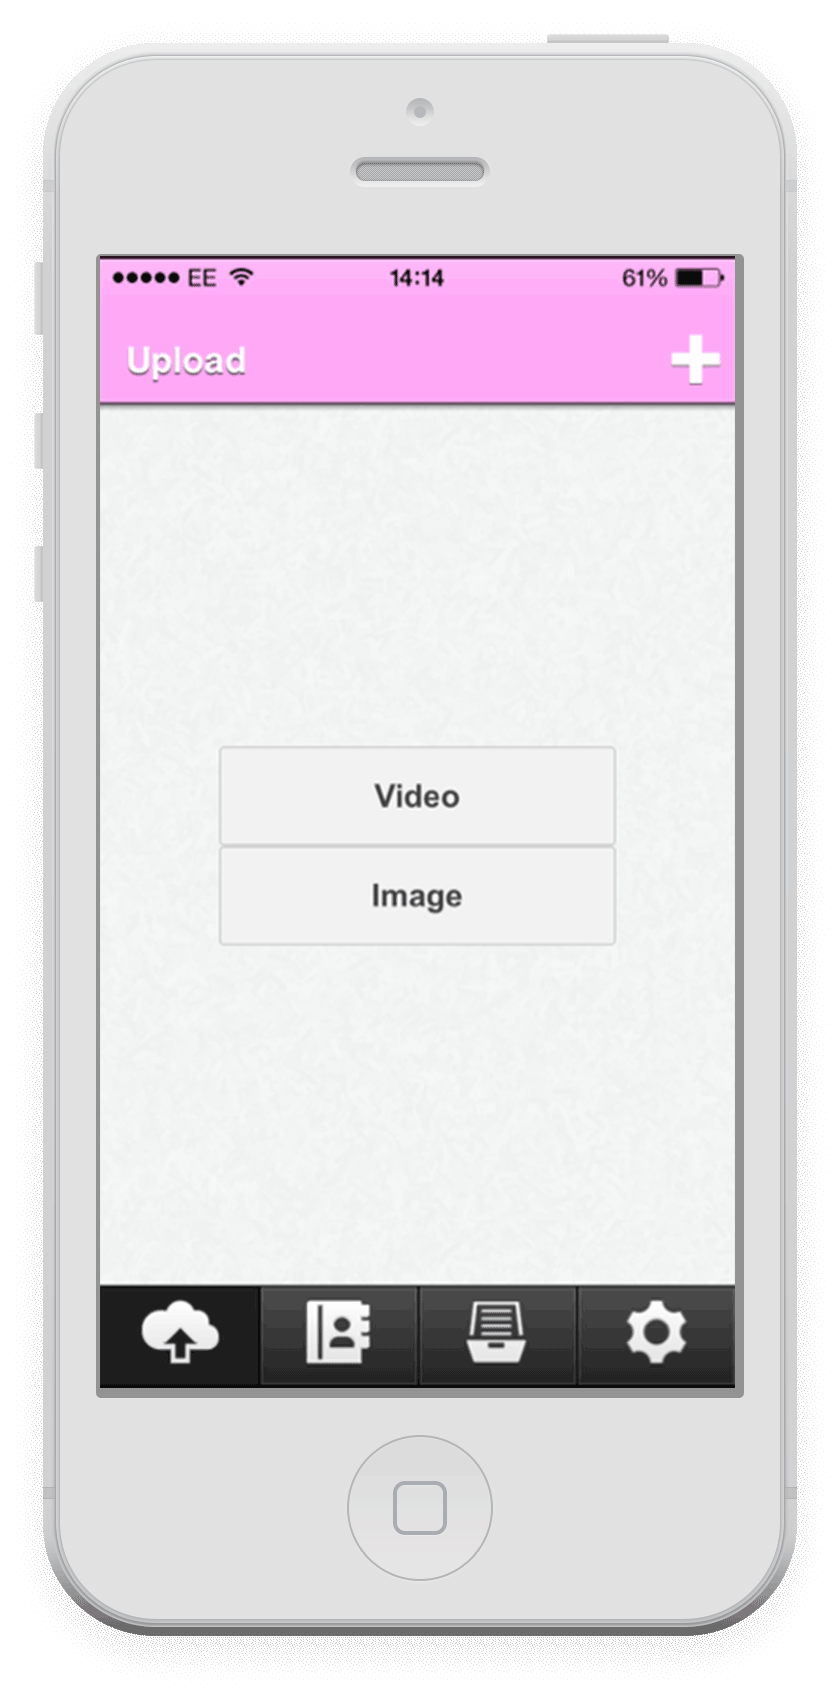
To upload a file, first select the plus (+) icon on the top right hand side.
This should bring up two options - Video or Image. Select the one you want to upload.
Once you have made your selection you should be taken to either Photos or Vidoes, dependent on your previous selection. Select the image or video you want to upload to add it to the queue.
Step 3:
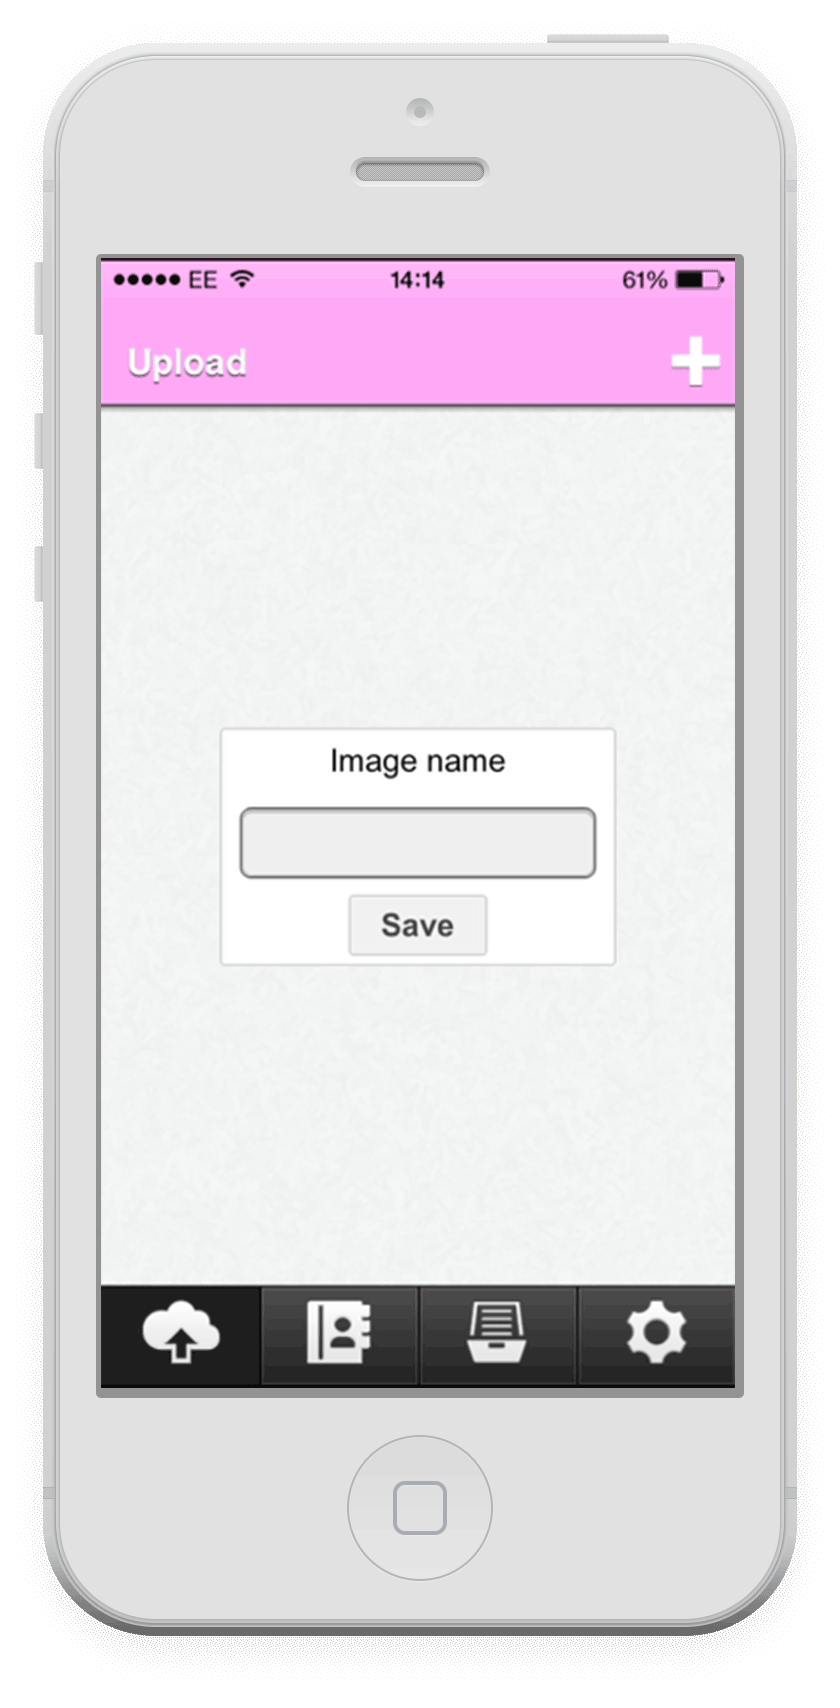
You will then be presented with the option to name the file.
Step 4:
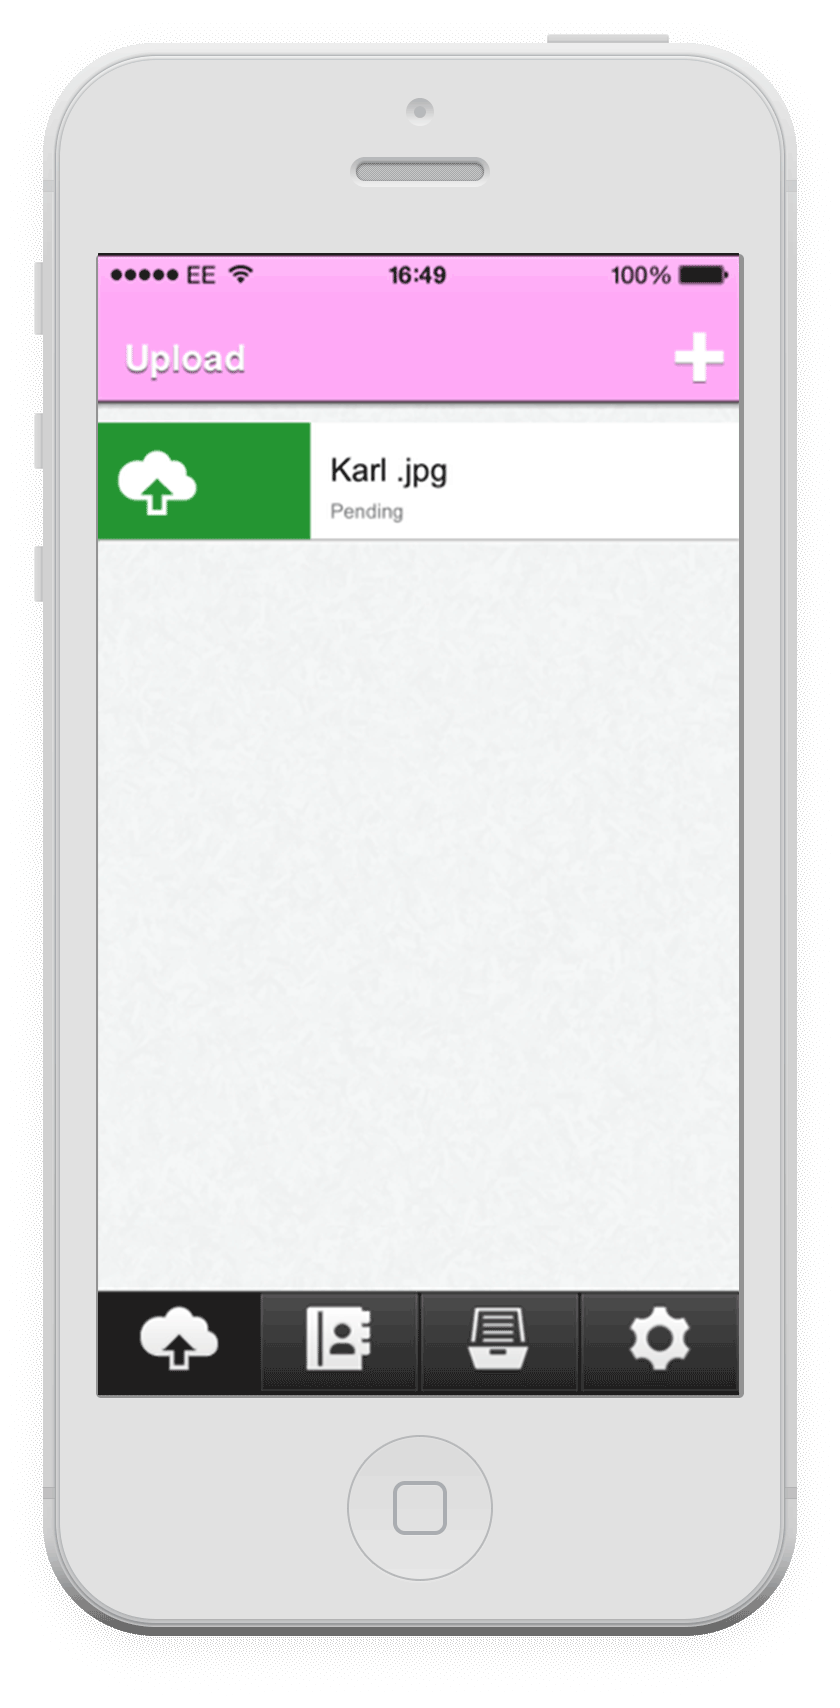
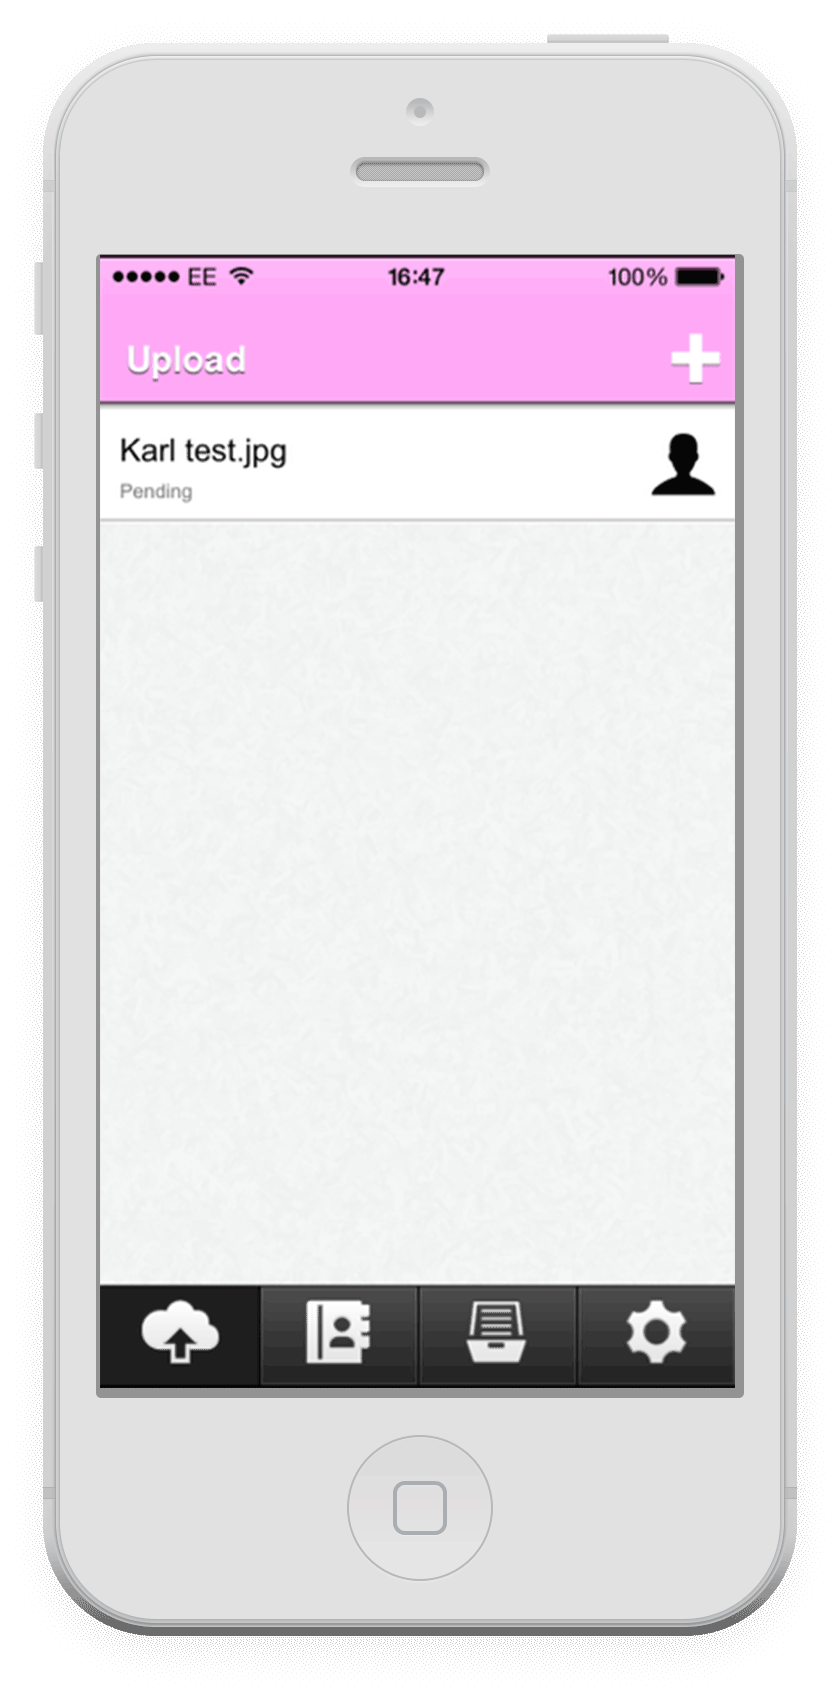
Once you have named your file and selected "Save", the file will be added to the queue as shown below.
However, before you can send your file you will first need to add a recipient. You can do this by tapping the silhouette, which should take you to your address book.
Step 5:
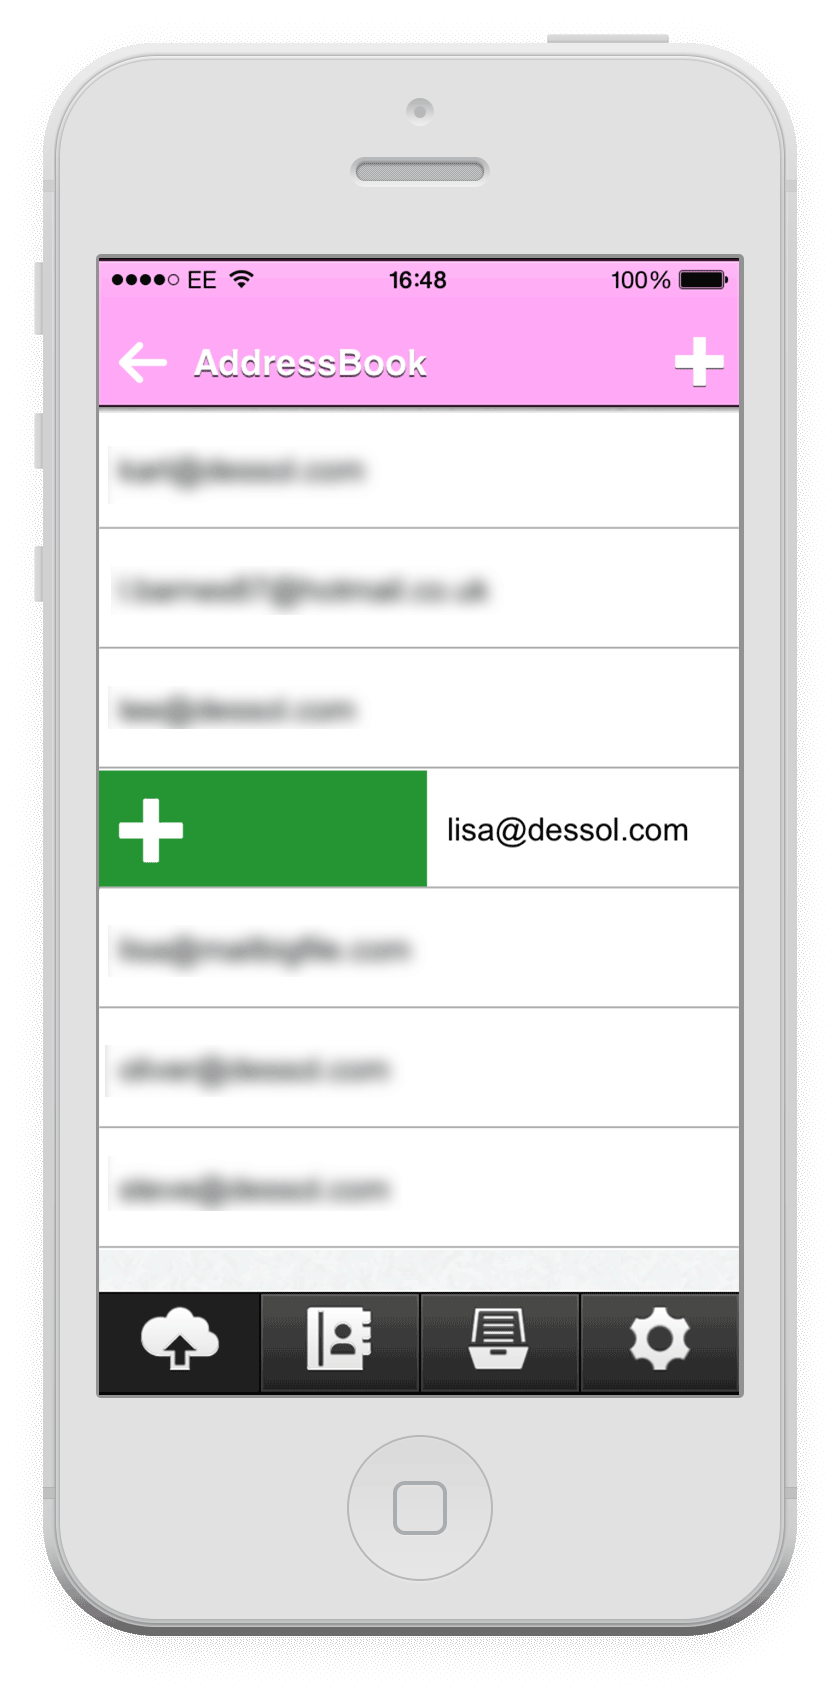
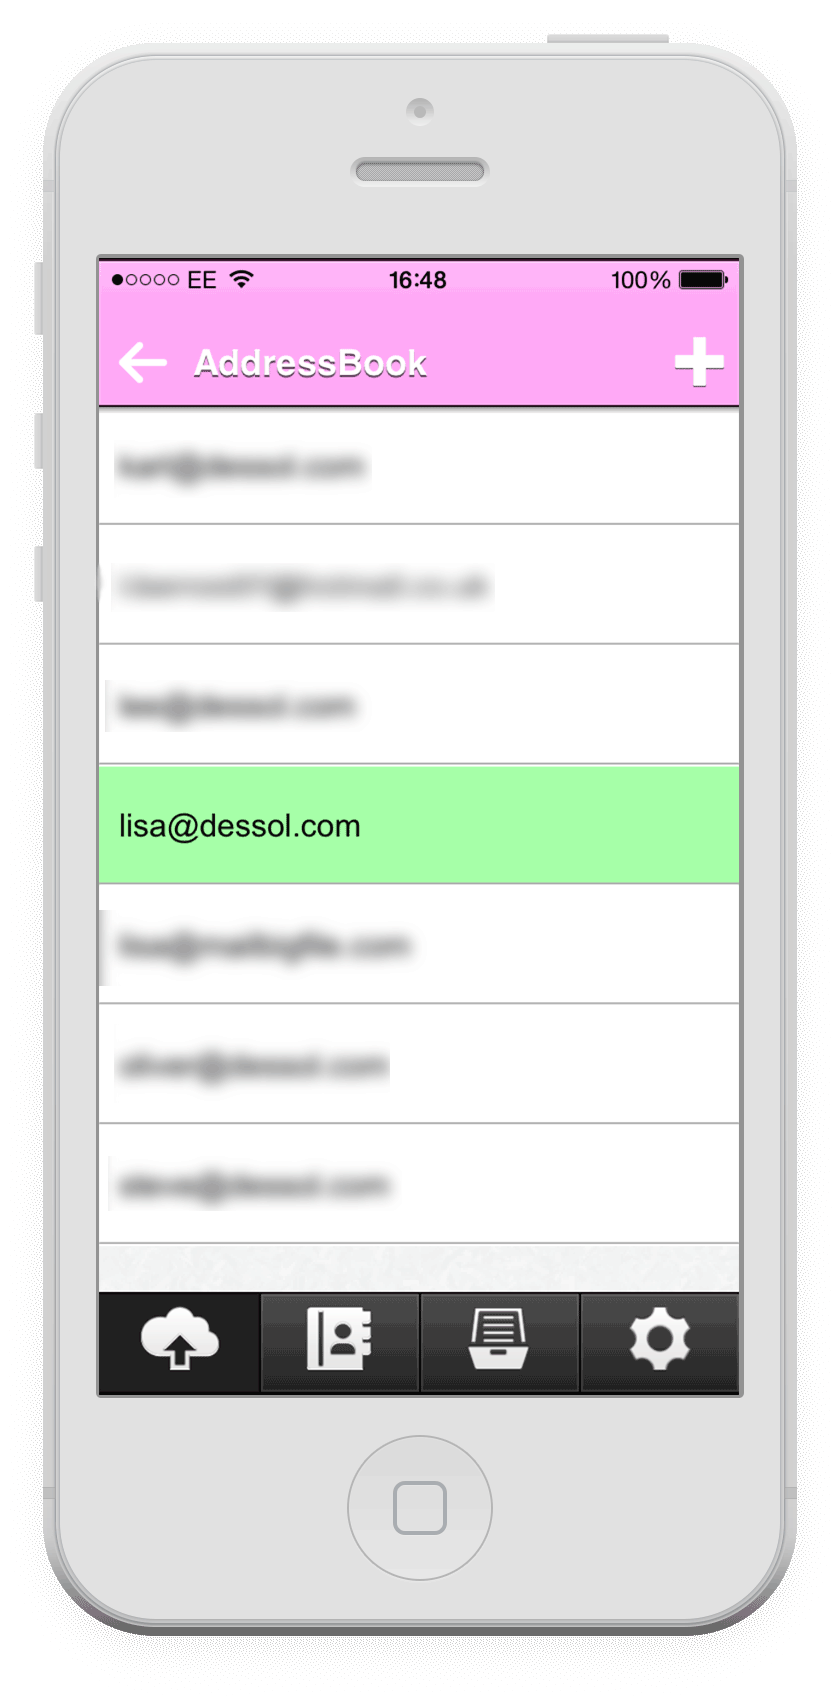
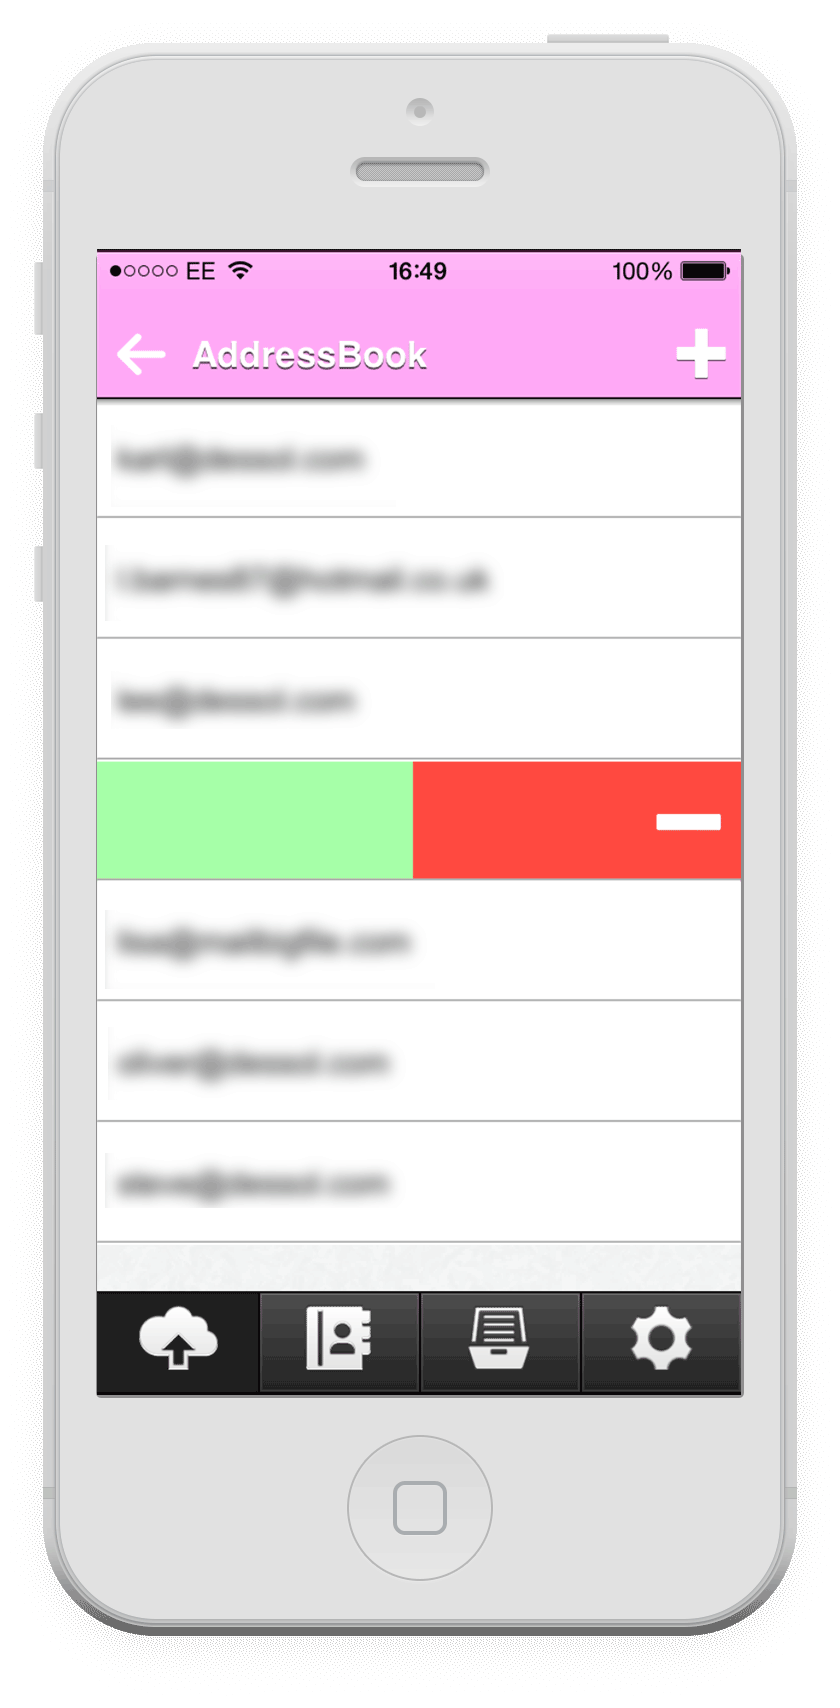
You can add a recipient by swiping the address you want to add to the right. The recipient will then be highlighted lime green to show it has been added. You can do this for each recipient in your address book.
Once you have finished adding recipients, click the back arrow on the top left, just beside the "Address Book" text.
You can remove a recipient from a file by swiping an added address to the left.
Step 6:
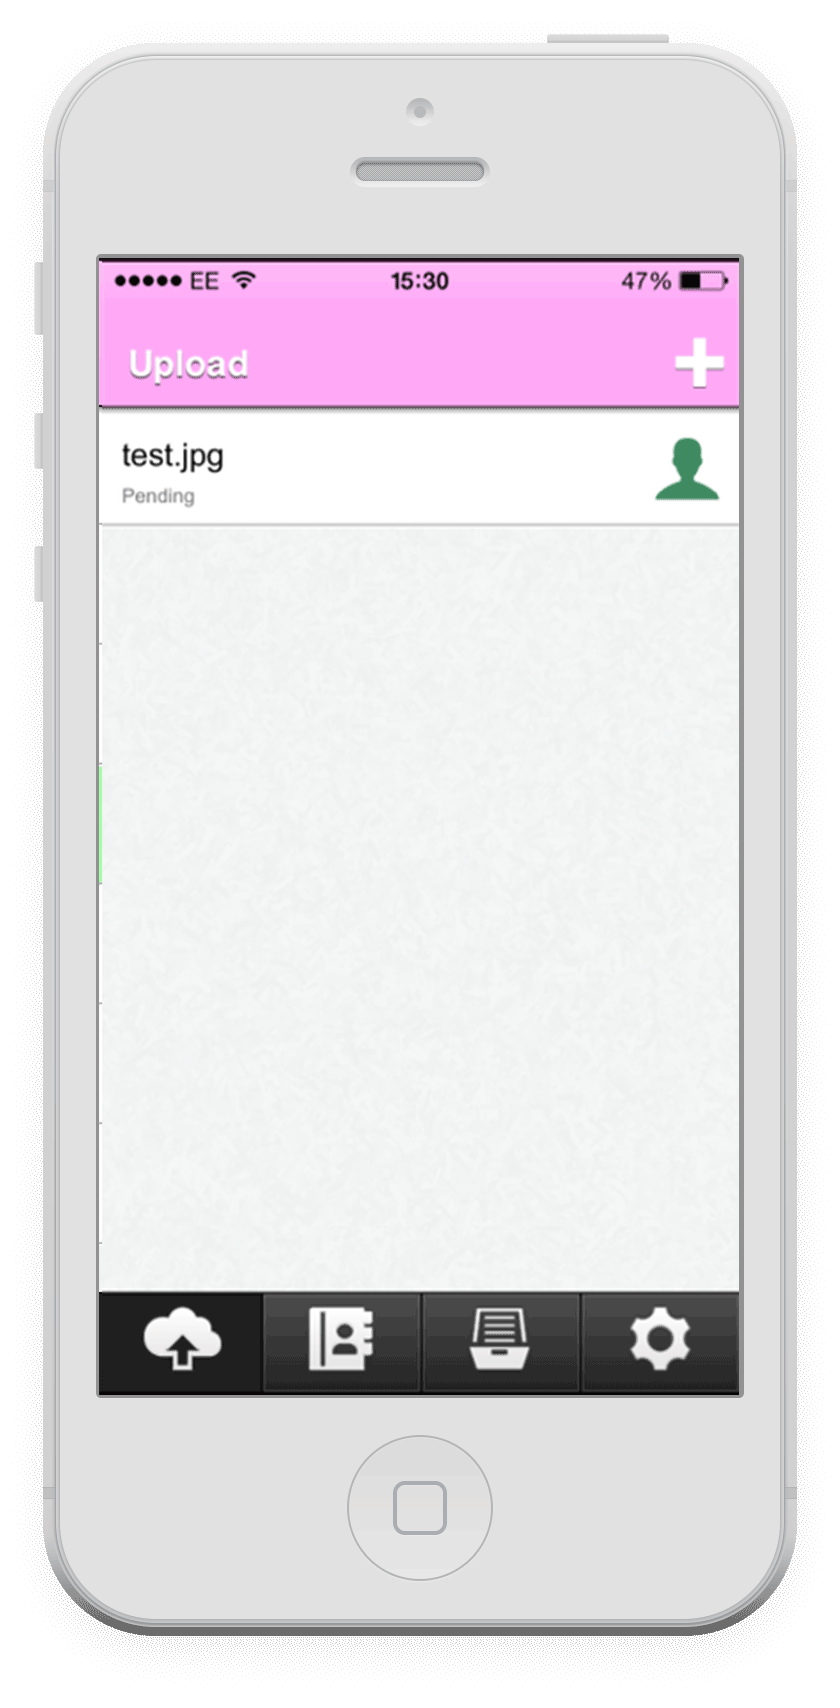
If you have successfully added a recipient to your file, the silhouette should turn green.
Finished!
You can now upload the file. To do so, swipe the file to the right. It should begin to upload.
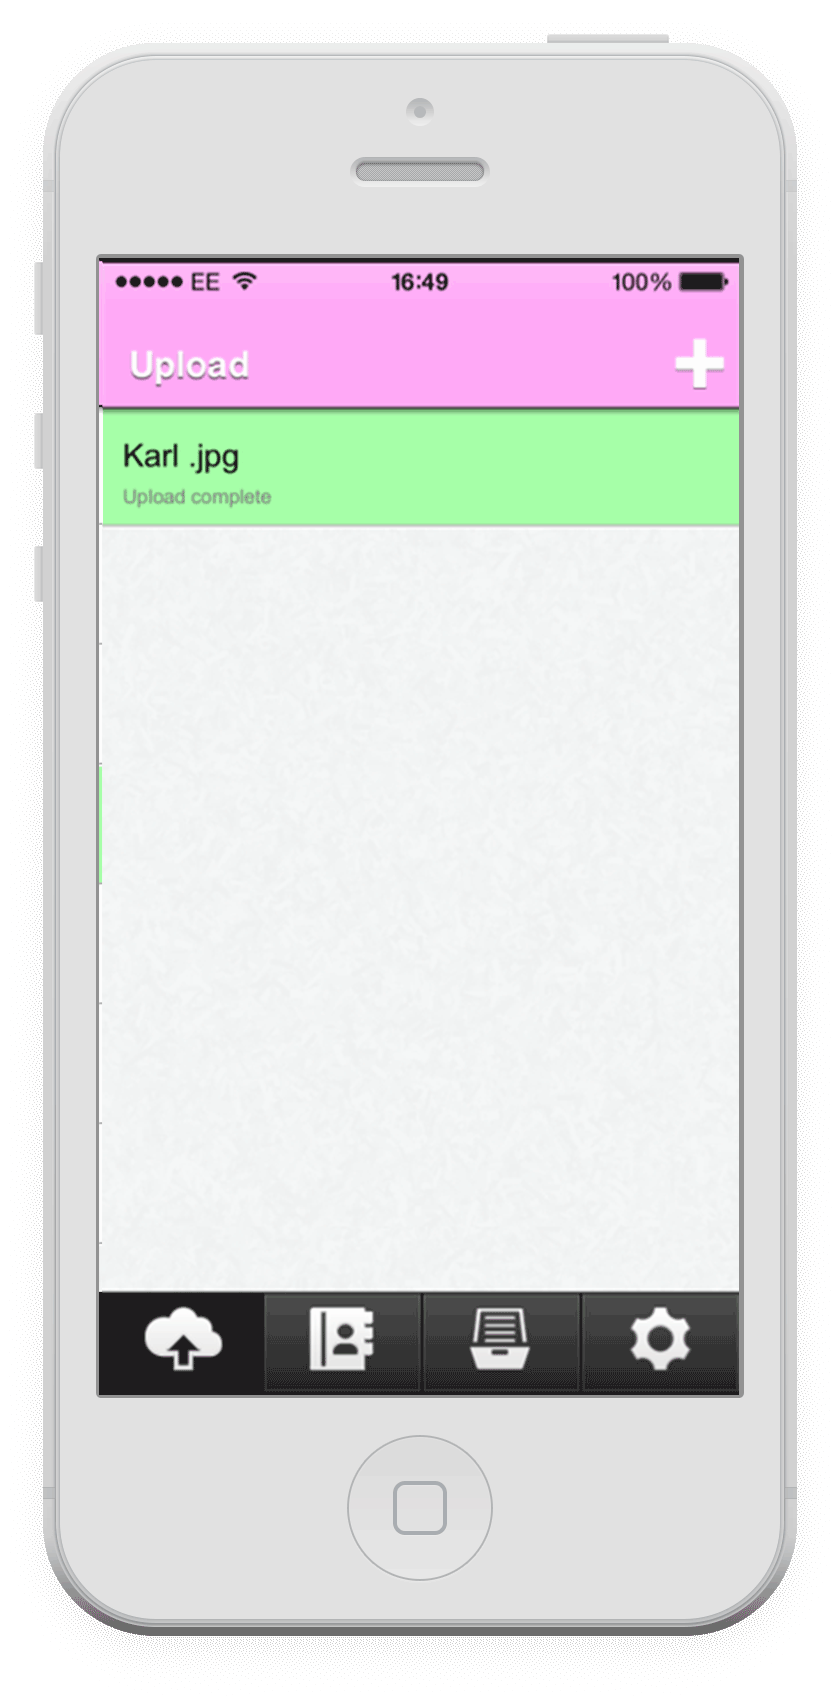
The file should turn lime green if the upload was successful.
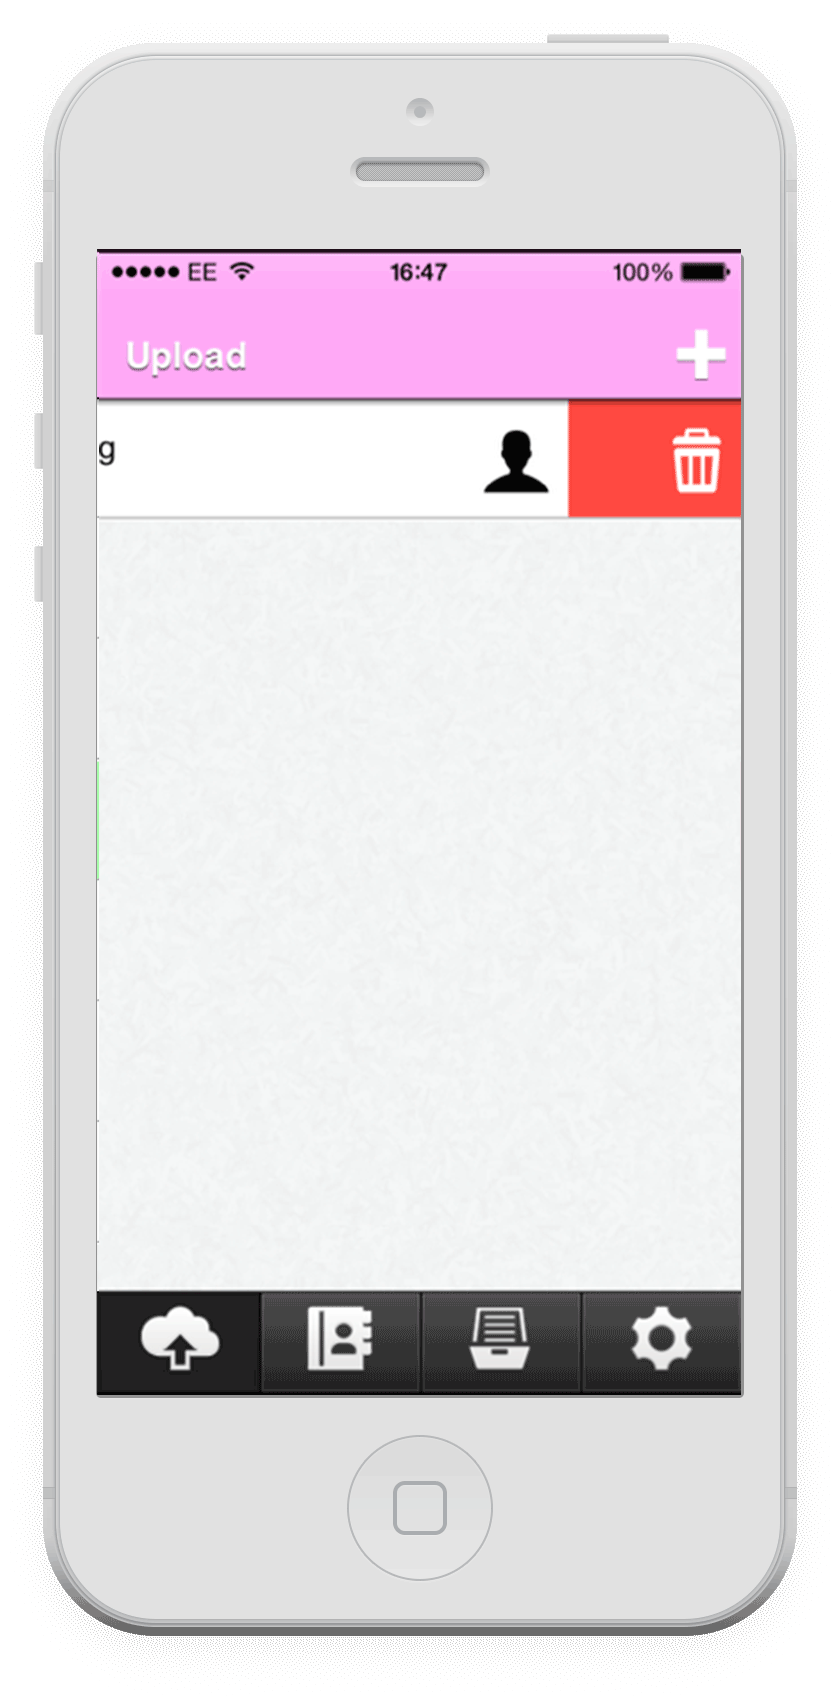
To remove a file you have added to the queue, instead swipe to the left. You can add more files by clicking the plus (+) icon on the top right and repeating the aforementioned procedure.
