Using The Form
Step 1:
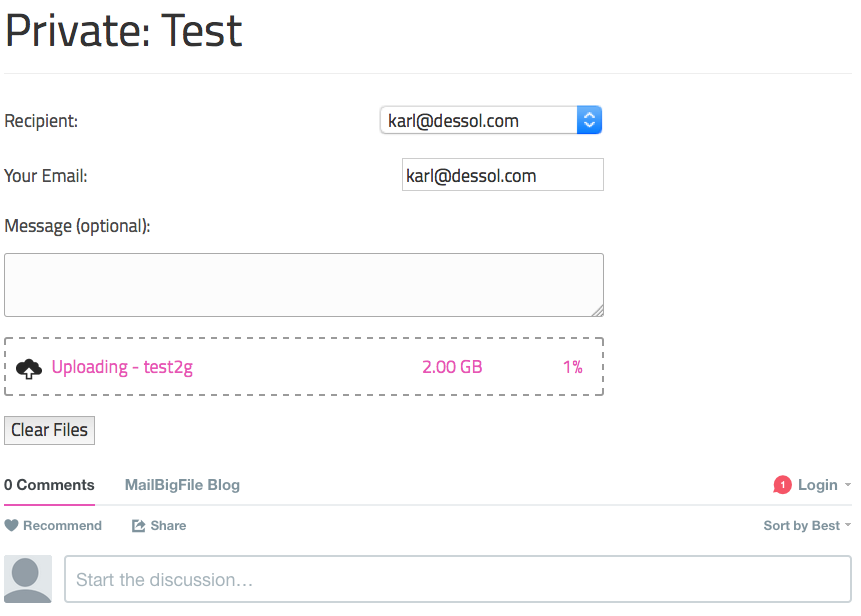
If you have successfully installed and set up your plugin, you should see a form on your page like the picture.
The form is deliberately left void of any additional text, as this is left to you to insert as appropriate.
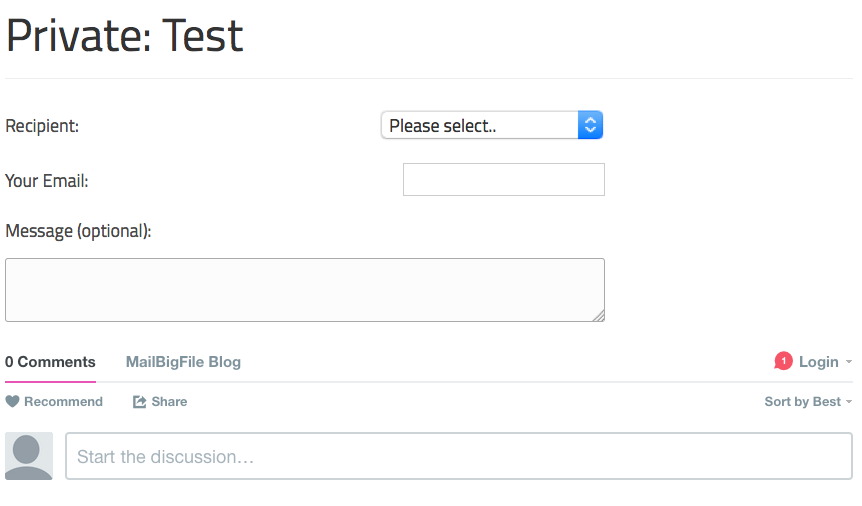
Step 2:
The upload box is also intentionally missing.
It does not appear until the user has entered a valid email address and selected a recipient from the drop-down box.
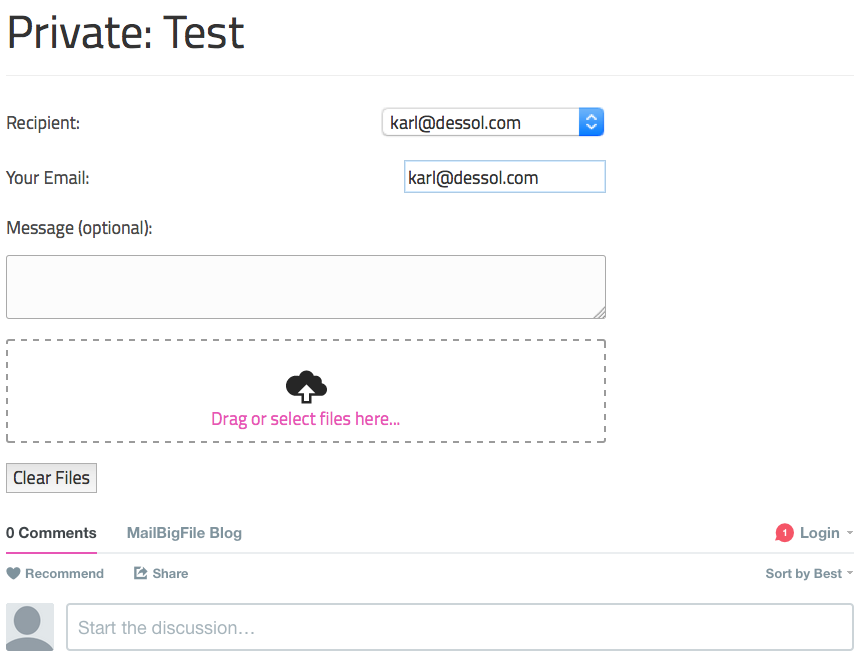
Step 3:
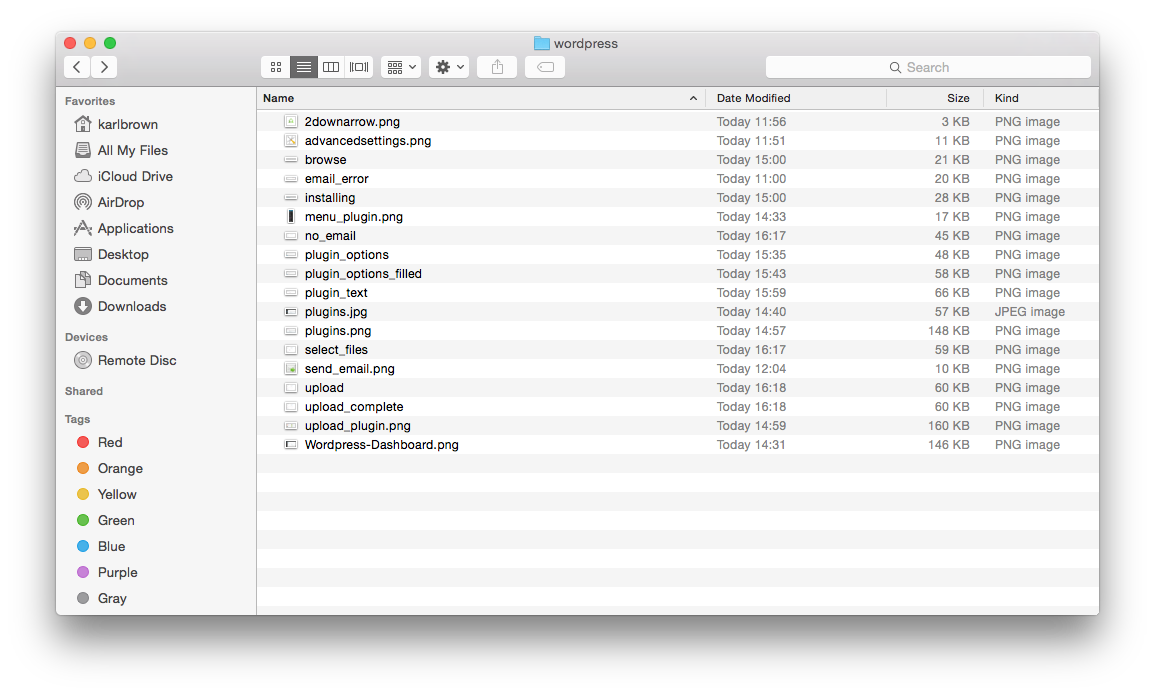
Once the upload box has displayed, a user can upload files to you by either dragging and dropping onto the box or by clicking the box, which will bring up their explorer/finder window.
Step 4:
Once a file has been added to the list, the uploader will immediately begin to upload the file.
The text in the box will keep the user updated with the status of the file.
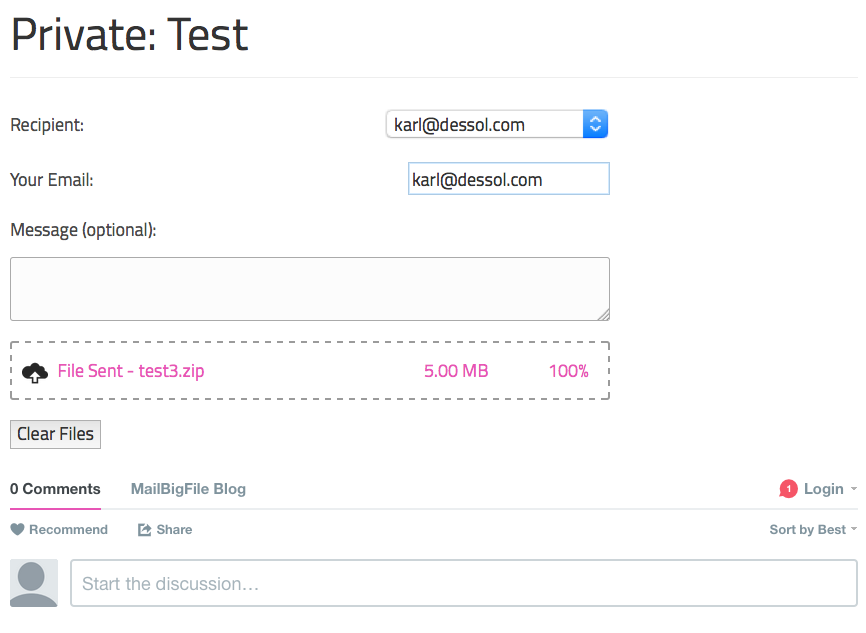
Finished!
When the file has finished uploading, the upload box will indicate this fact.
Once the file has finished uploading, a notification email will be sent to you and the sender, and the file will be added to your list of files in your “Receive History”.
Users can only upload 20 files at a time (the same as your Receive Solution).
They can clear the upload box with the “Clear Files” button and reset this counter.